Your AI tools already talk to your code repositories, Jira, Slack, and your databases. You have MCP servers wired across your workflow, and your AI assistant can reason about almost anything you throw at it, except your security data. That is the gap. When a security question comes up mid workflow, whether it is a CVE check, a posture query, or an investigation into a suspicious finding, everything stalls. You leave your IDE, open the Uptycs console, run the investigation there, then try to carry that context back to where you were working. You end up doing the integration work yourself, copying results between tabs, re-asking questions you already had answers to, and manually bridging two systems that should already be connected. Every round trip costs focus and time. That is why we built the Juno MCP server. It brings Juno’s analysis directly into the AI tools you already use, whether that is VS Code, Claude Code, Claude Desktop, Cursor, or any MCP-compatible client. No tab switching. No re-running investigations. No copying results between windows. A security question comes up while you are working, you ask it, and Juno gives you an answer right there. When you need to go deeper, the full investigation is one click away in the Juno UI, with every SQL query, every reasoning step, and every log source laid out in the Glass Box view you rely on. Fast answers where you work. Full evidence when you need it. Security stops being the blind spot in your AI-assisted workflow. It becomes another domain your tools can reason about, without breaking your flow. If you've set up an MCP server before, you can have Juno connected in under five minutes. Here's the setup: Note: This walkthrough assumes macOS/Linux. Before you start, you'll need two things installed on your machine. You'll also need an Uptycs account with Juno enabled. If you're reading this, you probably already have one. You need an API key so the MCP server can authenticate with Juno on your behalf. In the Uptycs console, click your name in the top right corner. A dropdown will open. Click Account Settings, then click Create to generate a new API key. Once it's created, click Download to save the JSON file to your machine. Move the downloaded file to your home directory so it's easy to reference: The file will look something like this: Don't share this file. It's your credentials. Next, configure your AI tool to locate and run the Juno MCP server. This walkthrough uses Claude Desktop on macOS. The process is similar for other MCP-compatible clients. Open your terminal and run: This will open your Claude Desktop config file in your default text editor. If the file doesn't exist, create it first: If you don't have any MCP servers configured yet, replace the entire contents of the file with: If you already have MCP servers configured, add the "juno" block inside your existing "mcpServers" object: Replace <yourname> with your actual macOS username. Not sure what it is? Run whoami in your terminal and it'll tell you. Quit Claude Desktop completely and reopen it. Once it's back, you should see Juno's tools available in the client. To confirm everything is working, try asking something like: “Hey Claude, give me a brief on our current cloud security posture across AWS and GCP, use juno MCP" Juno will create an investigation, run it against your environment, and return the findings right in your chat.Prerequisites
curl -LsSf https://astral.sh/uv/0.10.7/install.sh | sh
cd ~git clone https://github.com/uptycslabs/juno-mcp-server.gitStep 1: Get your API key from the Uptycs Console

mv ~/Downloads/"Uptycs API Key.json" ~/uptycs-apikey.json{ "customerId": "xxxxxxxx-xxxx-xxxx-xxxx-xxxxxxxxxxxx", "key": "YOUR_API_KEY", "secret": "YOUR_API_SECRET", "domain": "your-domain",
"domainSuffix": ".uptycs.io"}Step 2: Configure your MCP client
open ~/Library/Application\ Support/Claude/claude_desktop_config.jsonmkdir -p ~/Library/Application\ Support/Claudetouch ~/Library/Application\ Support/Claude/claude_desktop_config.jsonopen ~/Library/Application\ Support/Claude/claude_desktop_config.json{ "mcpServers": { "juno": { "command": "uv", "args": ["--directory", "/Users/<yourname>/juno-mcp-server", "run", "juno-mcp"], "env": { "UPTYCS_API_KEY_FILE": "/Users/<yourname>/uptycs-apikey.json" } } }}{ "mcpServers": { "your-existing-server": { ... }, "juno": { "command": "uv", "args": ["--directory", "/Users/<yourname>/juno-mcp-server", "run", "juno-mcp"], "env": { "UPTYCS_API_KEY_FILE": "/Users/<yourname>/uptycs-apikey.json" } } }} Step 3: Restart and verify


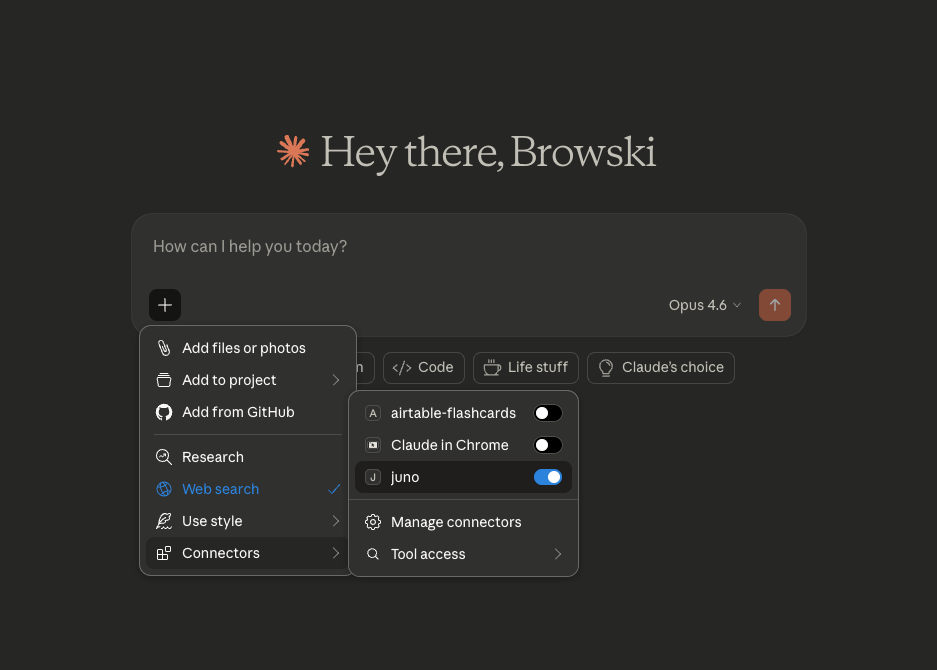
Introducing Juno MCP Server: Access Juno from VS Code, Claude Code, and any MCP-compatible client
好的,我现在需要帮用户总结一篇文章的内容,控制在100字以内。用户的要求是直接写描述,不需要开头语。 首先,我仔细阅读了文章。文章主要讲的是Juno MCP服务器如何将安全分析集成到现有的AI工具中,比如VS Code和Claude。这样用户在工作时可以直接在IDE中获得安全问题的答案,而不需要切换窗口或复制结果,节省时间和精力。 接下来,我需要提炼关键点:Juno MCP的作用、集成的工具、带来的好处以及设置步骤。同时要保持简洁,不超过100字。 然后,我组织语言,确保信息准确且流畅。注意使用用户熟悉的术语,并突出方便性和效率提升。 最后,检查字数是否符合要求,并确保没有遗漏重要信息。 </think> 文章介绍了Juno MCP服务器如何将安全分析直接集成到AI工具中(如VS Code、Claude等),使用户在工作中无需切换窗口即可获得安全问题的答案。它简化了安全数据的访问和分析流程,并支持深入调查。设置简单,几分钟即可完成配置。 2026-3-9 13:27:45 Author: www.uptycs.com(查看原文) 阅读量:23 收藏
好的,我现在需要帮用户总结一篇文章的内容,控制在100字以内。用户的要求是直接写描述,不需要开头语。 首先,我仔细阅读了文章。文章主要讲的是Juno MCP服务器如何将安全分析集成到现有的AI工具中,比如VS Code和Claude。这样用户在工作时可以直接在IDE中获得安全问题的答案,而不需要切换窗口或复制结果,节省时间和精力。 接下来,我需要提炼关键点:Juno MCP的作用、集成的工具、带来的好处以及设置步骤。同时要保持简洁,不超过100字。 然后,我组织语言,确保信息准确且流畅。注意使用用户熟悉的术语,并突出方便性和效率提升。 最后,检查字数是否符合要求,并确保没有遗漏重要信息。 </think> 文章介绍了Juno MCP服务器如何将安全分析直接集成到AI工具中(如VS Code、Claude等),使用户在工作中无需切换窗口即可获得安全问题的答案。它简化了安全数据的访问和分析流程,并支持深入调查。设置简单,几分钟即可完成配置。 2026-3-9 13:27:45 Author: www.uptycs.com(查看原文) 阅读量:23 收藏
文章来源: https://www.uptycs.com/blog/introducing-juno-mcp-server-access-juno-from-vs-code-claude-code-and-any-mcp-compatible-client
如有侵权请联系:admin#unsafe.sh
如有侵权请联系:admin#unsafe.sh