
懒猫微服外挂虚拟机管理器启动方法说明
前言步骤参考和致谢前言懒猫微服用着还不错,但缺个虚拟机管理器。应用商店里这些应用能启动特定系统的虚拟机,但也只能启动特定系统的,而且没有办法映射虚拟机里的端口出来。 2025-2-1 15:58:12 Author: www.zhaoj.in(查看原文) 阅读量:19 收藏
前言步骤参考和致谢前言懒猫微服用着还不错,但缺个虚拟机管理器。应用商店里这些应用能启动特定系统的虚拟机,但也只能启动特定系统的,而且没有办法映射虚拟机里的端口出来。 2025-2-1 15:58:12 Author: www.zhaoj.in(查看原文) 阅读量:19 收藏
前言
懒猫微服用着还不错,但缺个虚拟机管理器。
应用商店里这些应用能启动特定系统的虚拟机,但也只能启动特定系统的,而且没有办法映射虚拟机里的端口出来。
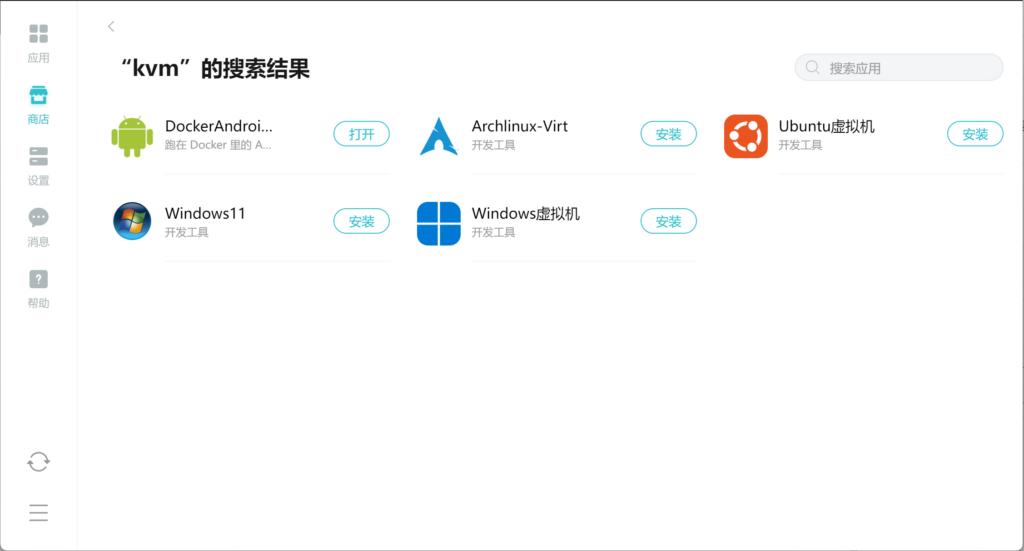
所以还是用官方提供的 Dockge,打算配合 VirtManager 和 KVM 来自由地启动虚拟机。
步骤
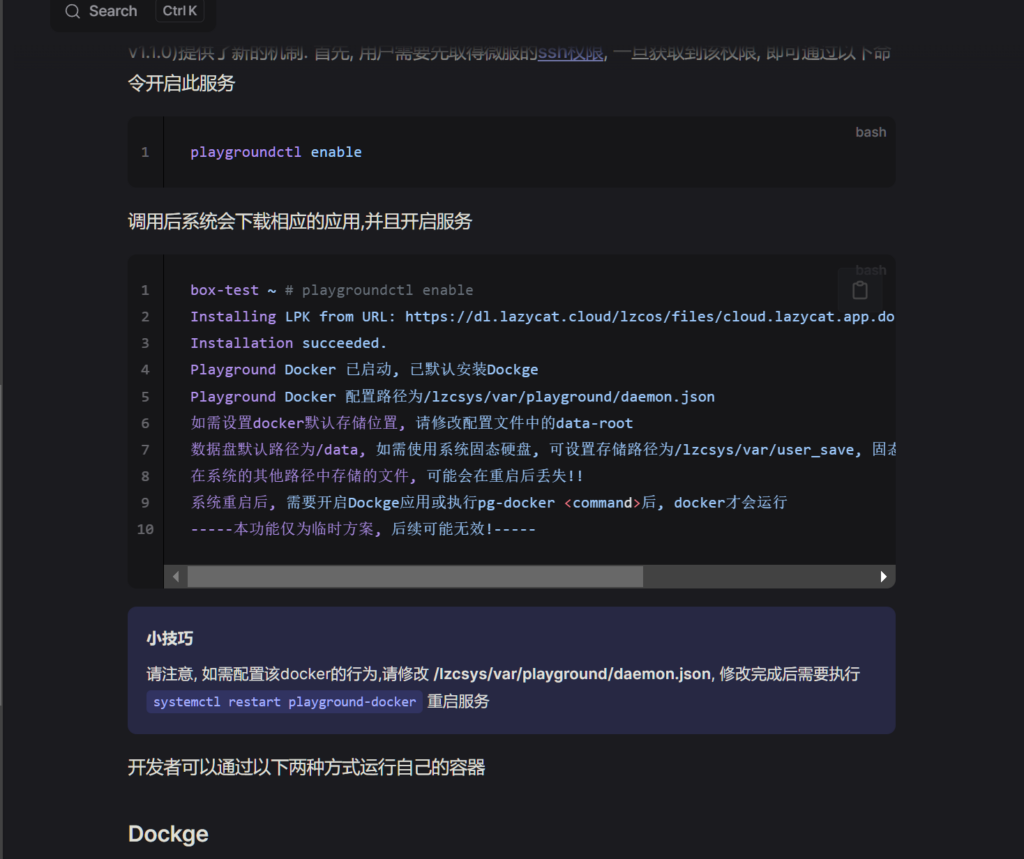
1.申请官方开发者权限,然后按照这里的说明把 Dockerd 模式打开。
2. 应用里打开 Dockge,把下面的
version: "3.8"
services:
  virt-manager:
    image: crpi-3y0s0ug8uy5x8vwi.cn-hangzhou.personal.cr.aliyuncs.com/glzjinglzjin-lzc/virtmanager:8cf5a0c04f58c4216bc5f98ccb8dc4d5
    build: ./
    restart: always
    # network_mode: host
    environment:
      # Set DARK_MODE to true to enable dark mode
      DARK_MODE: false
      # If connecting to remote libvirtd, you can use a qemu+ssh string like below. Default qemu:///system will connect to local libvirtd:
      # HOSTS: "['qemu+ssh://user@host1/system', 'qemu+ssh://user@host2/system']"
      HOSTS: "['qemu:///system']"
    # If on an Ubuntu host (or any host with the libvirt AppArmor policy, you will need to use an ssh connection to localhost
    # or use qemu:///system and uncomment the below line to run the container in privileged mode:
    privileged: true
    volumes:
      # Volumes needed if connecting to local qemu:///system
      # - "/var/run/libvirt/libvirt-sock:/var/run/libvirt/libvirt-sock"
      - /data/document/<你的懒猫微服用户名>/VirtManager/images:/var/lib/libvirt/images
      - /data/document/<你的懒猫微服用户名>/VirtManager/etc:/etc/libvirt
      - /data/document/<你的懒猫微服用户名>/VirtManager/run:/var/run/libvirt
      - /dev:/dev
    # If connecting to remote libvirtd, substitute location of ssh private key, e.g.:
    # - /home/user/.ssh/id_rsa:/root/.ssh/id_rsa:ro
    device_cgroup_rules:
      - c *:* rwm
      #devices:
      # Not needed if connecting to remote libvirtd
      #  - /dev:/dev
    networks:
      macvlan_net:
        ipv4_address: <分配给 VirtManager 面板的IP>
networks:
  macvlan_net:
    driver: macvlan
    driver_opts:
      parent: enp2s0
    ipam:
      config:
        - subnet: <路由器网段>
          ip_range: <分配给 VirtManager 面板的IP>/32
          gateway: <路由器网关IP>
在粘贴到里面之后,有几个需要修改设置的地方:
- 分配给 VirtManager 面板的IP:局域网内直接访问这个IP打开 VirtManager。例:192.168.31.108
- 路由器网段:路由器的LAN网段。例:192.168.31.0/24
- 路由器网关IP:路由器的LAN网关IP。例:192.168.31.1
- 你的懒猫微服用户名:你的懒猫微服用户名。例:glzjin
整体填写完例子如下:
version: "3.8"
services:
  virt-manager:
    image: crpi-3y0s0ug8uy5x8vwi.cn-hangzhou.personal.cr.aliyuncs.com/glzjinglzjin-lzc/virtmanager:8cf5a0c04f58c4216bc5f98ccb8dc4d5
    build: ./
    restart: always
    # network_mode: host
    environment:
      # Set DARK_MODE to true to enable dark mode
      DARK_MODE: false
      # If connecting to remote libvirtd, you can use a qemu+ssh string like below. Default qemu:///system will connect to local libvirtd:
      # HOSTS: "['qemu+ssh://user@host1/system', 'qemu+ssh://user@host2/system']"
      HOSTS: "['qemu:///system']"
    # If on an Ubuntu host (or any host with the libvirt AppArmor policy, you will need to use an ssh connection to localhost
    # or use qemu:///system and uncomment the below line to run the container in privileged mode:
    privileged: true
    volumes:
      # Volumes needed if connecting to local qemu:///system
      # - "/var/run/libvirt/libvirt-sock:/var/run/libvirt/libvirt-sock"
      - /data/document/glzjin/VirtManager/images:/var/lib/libvirt/images
      - /data/document/glzjin/VirtManager/etc:/etc/libvirt
      - /data/document/glzjin/VirtManager/run:/var/run/libvirt
      - /dev:/dev
    # If connecting to remote libvirtd, substitute location of ssh private key, e.g.:
    # - /home/user/.ssh/id_rsa:/root/.ssh/id_rsa:ro
    device_cgroup_rules:
      - c *:* rwm
      #devices:
      # Not needed if connecting to remote libvirtd
      #  - /dev:/dev
    networks:
      macvlan_net:
        ipv4_address: 192.168.31.108
networks:
  macvlan_net:
    driver: macvlan
    driver_opts:
      parent: enp2s0
    ipam:
      config:
        - subnet: 192.168.31.0/24
          ip_range: 192.168.31.108/32
          gateway: 192.168.31.1
这里的docker-compose.yml是猫插网线连到路由器的情况;如果是无线网络则把 enp2s0 改为 wlp129s0 试试(未测试过)。
粘贴好,修改好之后,点击部署,等待启动完成即可。

3. 然后打开刚刚给 VirtManager 配置的IP,开始创建虚拟机。
a. 点击+号,新建虚拟机。选择安装媒体来源是本地安装媒体,然后点击下一步按钮。

b. 然后这时就可以把安装系统要用的 ISO 文件拷贝到懒猫网盘里这个目录下了。
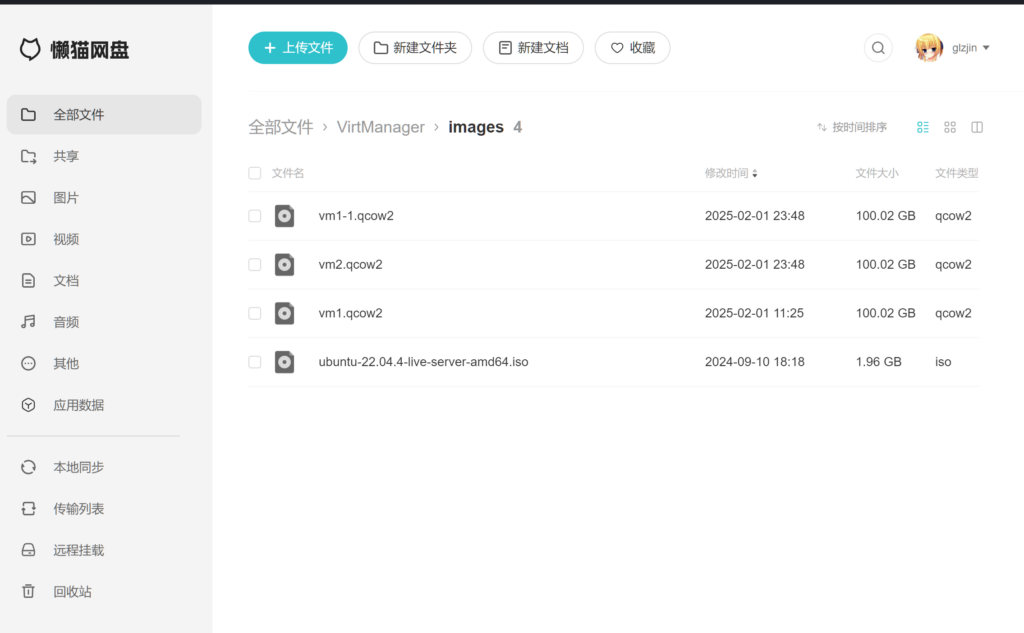
点击 浏览按钮,就可以选择到这个 ISO 文件了。


选择好安装镜像之后,把自动探测系统类型的勾选去掉,然后手动选择操作系统,要是系统不在列表里就选个相近的;选好之后点击下一步。

c. 然后选择虚拟机的内存大小和CPU核心数。选择完点击下一步。

d. 然后输入虚拟机磁盘大小。选择完点击下一步。

e. 到最后一步,确认信息,然后在这里就可以选择网络类型了。

网络选择 macvtap这种模式,也就是图上这种模式,这种情况下相当于虚拟机网线直接插到路由器网口上了,可以直接在路由器内网里进行访问,方便。

点击 FInish,即可启动。
f. 等待磁盘初始化完毕,即可安装系统,正常使用。

参考和致谢
文章来源: https://www.zhaoj.in/read-9046.html
如有侵权请联系:admin#unsafe.sh
如有侵权请联系:admin#unsafe.sh