2023-9-1 03:9:2 Author: blog.sucuri.net(查看原文) 阅读量:21 收藏
With the web’s increased emphasis on security, all sites should operate on HTTPS. Installing an SSL certificate allows you to make that transition with your website. But it can also have an unintended consequence for sites that have been operating on HTTP previously: Mixed content issues and warnings.
In this post, we’ll take a look at common reasons for mixed content errors, what causes them, and how you can fix them on your website.
Contents:
- What is mixed content?
- Why does mixed content matter?
- What causes mixed content warnings?
- How do I unblock mixed content?
- How to fix mixed content in WordPress
- Mixed content issues in generic files
- Mixed content issues in your database
- Support for SSL and HTTPs
What is mixed content?
Mixed content warnings happen when a site’s content loads through a mix of HTTP and HTTPS connections.
This typically takes the form of the initial HTML loading via HTTPS, and then various content resources loading through HTTP.
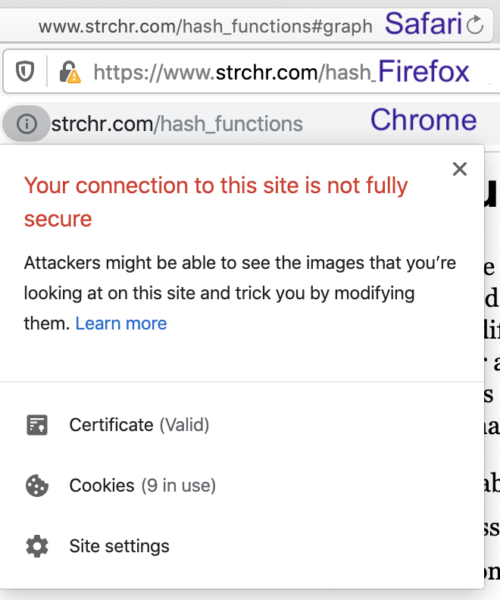
When a browser detects mixed content, it will alert the user and potentially block the content. Here’s an example of what that might look like:
Why does mixed content matter?
Quite plainly, mixed content presents a security vulnerability. Since the communication on the HTTP connections is insecure, unencrypted content could be exposed in a man-in-the-middle attack. This could potentially allow attackers to replace content on the website, eavesdrop on users, or even take control of the site in extreme cases.
Browsers are increasingly taking a defensive stance against mixed content. By that, I mean they’ll block access to the non-secure content — or the entire site itself.
Scripts, iframes, and stylesheets likely get outright blocked. With audio and video, a browser may try to load the asset via HTTPS first – and then block the content if it can’t. Images might still load, but deliver a warning.
In any case, your site visitors won’t experience your site as intended – or maybe not experience your site at all if a dependency like .css or .js file is blocked.
So, if you encounter these warnings on your site, addressing the issue should be high on your priority list.
What causes mixed content warnings?
We most frequently see mixed content warnings on sites with heavy use of site assets – especially external ones – like images, media files, JavaScript, and even CSS.
Two primary causes for these warnings include:
- URLs to files are hardcoded in the site
- Default configurations load the assets over HTTP
So, when a site gets updated to HTTPS those paths still link to the HTTP version.
As far as how that looks in a site’s code: This can happen when the absolute URL path is set, instead of relative paths for images, CSS, or JavaScript files.
Absolute path:
<img src="http://mydomain.com/myimage.png">
Relative path:
<img src="/myimage.png">
How do I unblock mixed content?
Every browser that allows for unblocking mixed content will also provide a tutorial on how to unblock it. However, given what we’ve learned about the potential malicious use of mixed content, I can’t recommend doing this. Even if your site has a small user base who you could instruct to unblock the mixed content, you’re opening them up for a potentially harmful attack.
In the end, putting in a little effort to fix the issue will be easier than trying to avoid it!
How to fix mixed content with a WordPress Plugin
Let’s take a look at a tool you can use to find and fix mixed content issues in WordPress.
Use the really-simple-ssl plugin
If you’re using the WordPress CMS, you are in luck because you can make use of the really-simple-ssl plugin. It automatically fixes and redirects HTTP to HTTPS on your behalf.
There’s a premium version as well, which will report on any issues that couldn’t be resolved automatically, fix back-end issues, add security headers, and more.
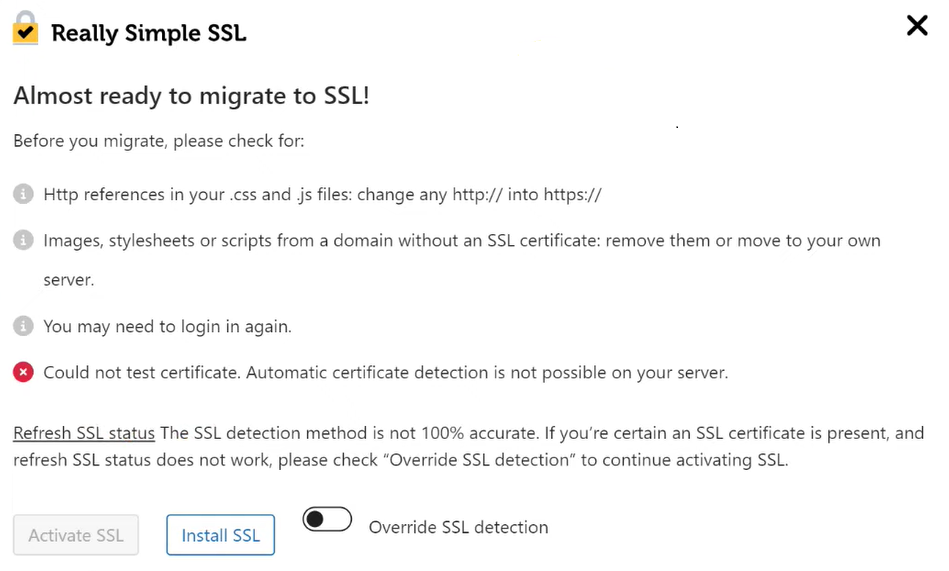
After installation and activation, if you don’t yet have SSL certificates active on your site then the tool will show you the following screen.
From this dialog, click on Install SSL to proceed to check your system status and follow the prompts.
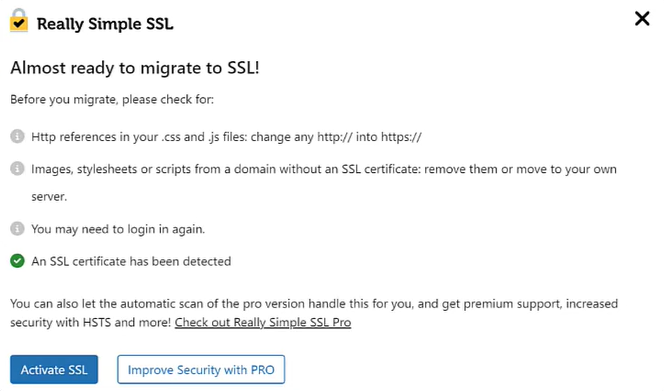
If you have an active certificate already, you’ll see the following dialog in the plugin instead.
Click Activate SSL to proceed.
Find and fix mixed content issues in generic files
If your site’s CMS template and/or files are in HTML or PHP files, you can find and fix mixed content issues with the following steps:
1. Conduct a mass search
If you know how to use terminal commands, a grep command can help you identify every file that references a http://. Be sure to be in the root of your website (i.e., /public-html/, /www/html/, etc..):
$ grep -r "http://yourdomain.com/"
If you’re looking for a less technical way to assess your site, run a scan with a tool like WebPageTest. In the results, look for content elements that do not show up with a padlock next to them (like number 2 in this screenshot).

Our own SiteCheck tool will also report on mixed content. You’ll find these noted under TLS Recommendations, as seen below.

2. Replace your content
You’ll then change all references to http:// to include https://.
Find and fix mixed content issues in your database
Depending on the platform you choose, your website technology might dynamically render the asset locations in the database. So you’ll want to go directly to the database and update all protocol references.
Here are some quick tips to find and fix mixed content in your database:
1. Get a database search and replace tool to identify and replace mixed content
There is a great tool called Database Search and Replace, built by Interconnected/IT. As the name implies, it allows you to do a quick search of your database, replacing values as needed. Of course, be careful.
2. Configure database search and replace
Download the Database Search and Replace tool at the root of your website:
[[email protected] [domain directory]# wget https://github.com/interconnectit/Search-Replace-DB/archive/master.zip
[[email protected] [domain directory]# unzip master.zip
[[email protected] [domain directory]# cd Search-Replace-DB-master/
Once you have installed the tool, you can access it directly by going to http://yourdomain.com/Search-Replace-DB-master/index.php
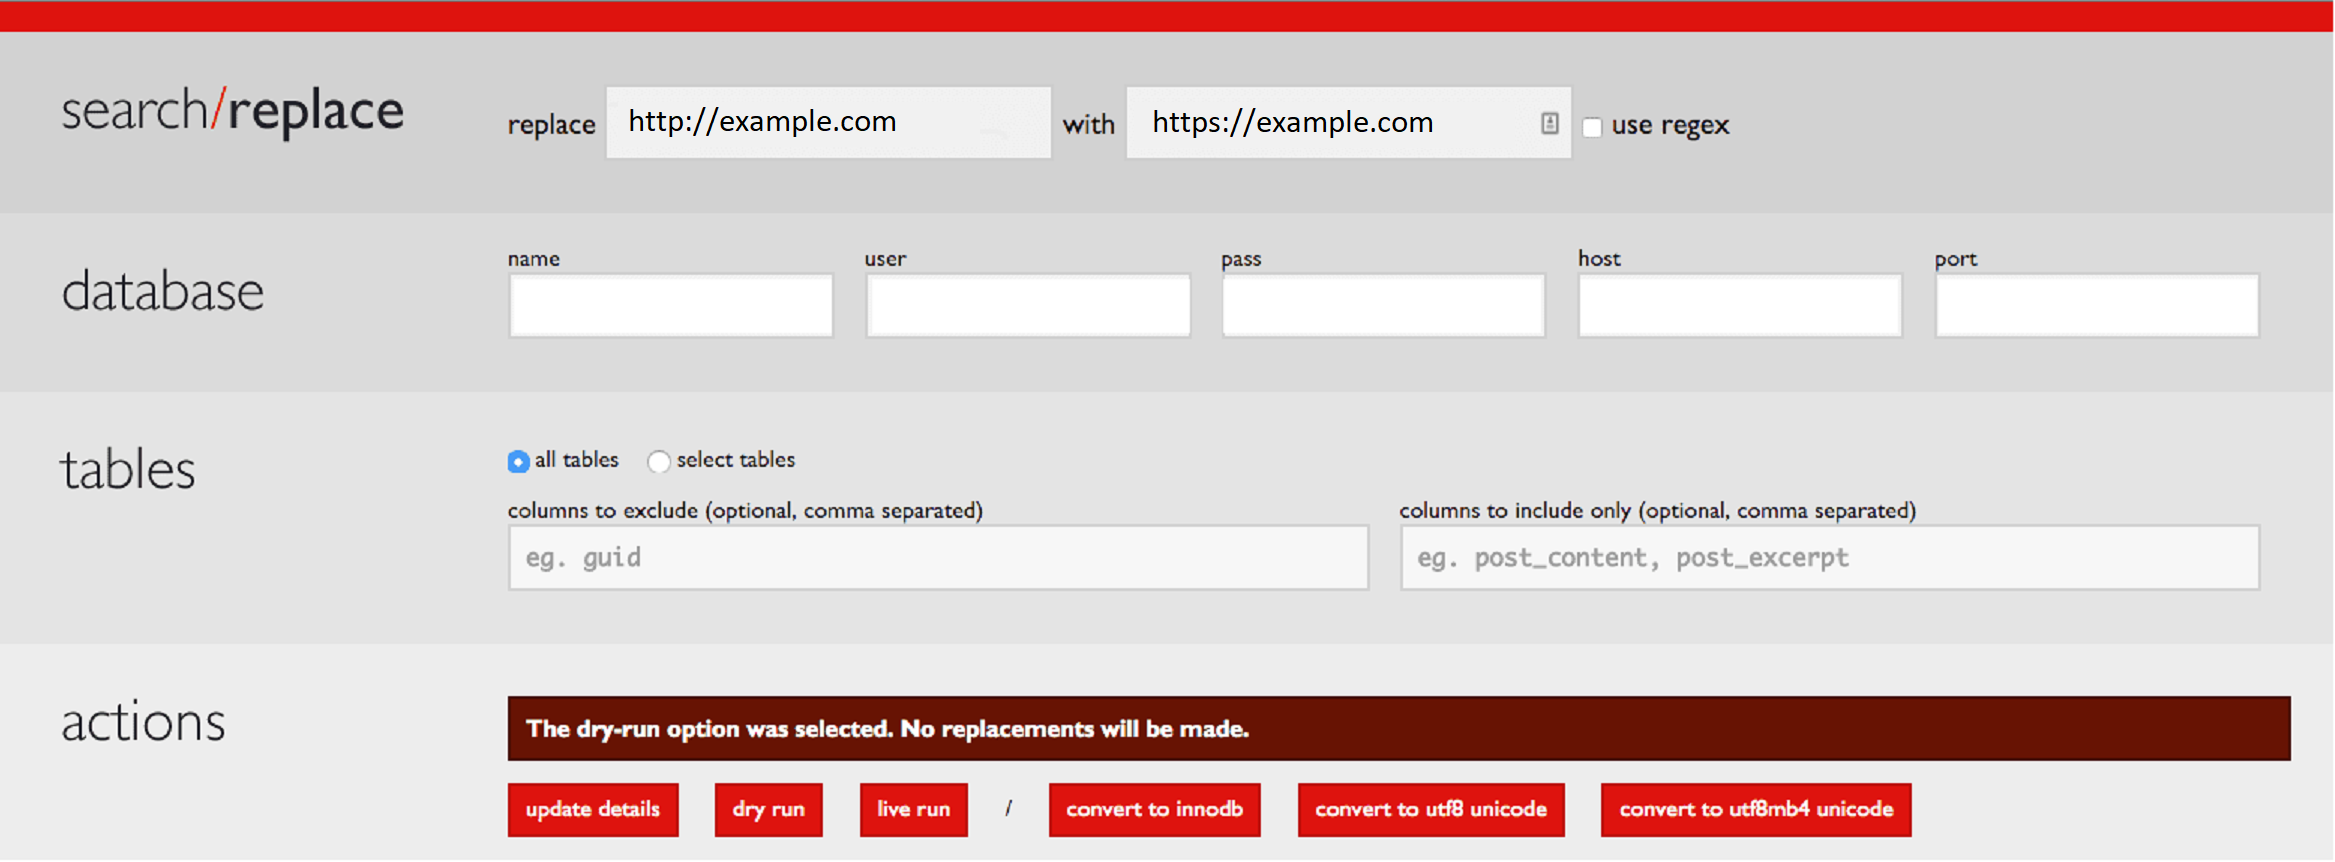
When you load the tool, it will pull the values from your /wp-config.php. If for whatever reason it doesn’t, here is how you map the values:
Name = define('DB_NAME',
User = define('DB_USER',
Password = define('DB_PASSWORD',
Host = define('DB_HOST',
Port = Default 3306
3. Run search and replace
When running “search and replace” be mindful of all the things you can inadvertently break. To account for this, I recommend being as specific as possible. For instance, in the image above, you can see I search for http://yourdomain.com and replace with https://yourdomain.com. This is an effort to avoid breaking any other http references that might cause unexpected issues.
Even then, before you run the tool, please be sure to have a database backup.
The tool also helps by giving you two very distinct options: Dry Run and Live Run. I recommend running a Dry Run first, checking the output, then running a Live Run if everything works well.

4. Identify and handle HTTPS traffic
Next you want to make sure that your server/website is ready to handle HTTPS traffic. Of course, the first step is to install your SSL certificate. If you’ve done that, you can then take the next step using really-simple-ssl or directly through your /wp-config.php file.
/* Handle HTTPS Protocol */
if ($_SERVER['HTTP_X_FORWARDED_PROTO'] == 'https')
$_SERVER['HTTPS']='on';
This forces your website/server to accept all HTTPS requests, and also enables HTTPS on your website. There are obviously a number of different deployment types. For more variations you can reference this Codex article on WordPress.org.
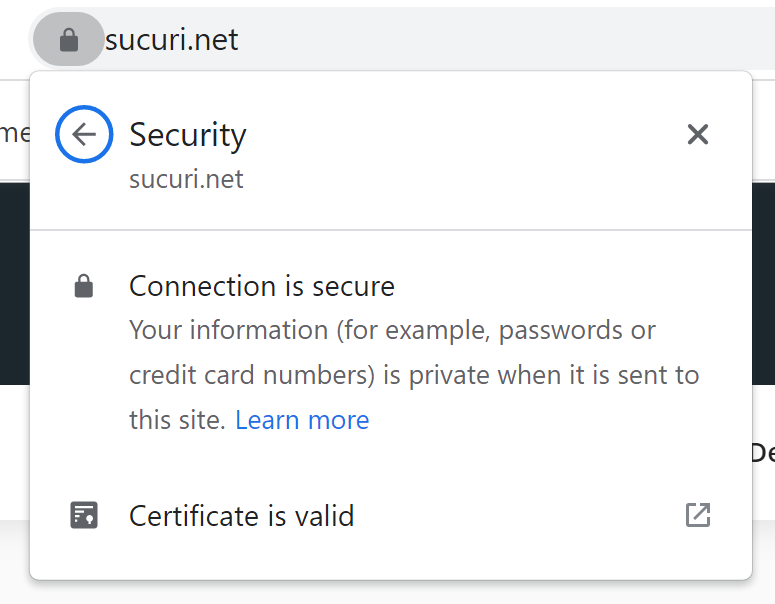
When done, clear any caches you might have enabled and visit your website. You should now get the secure padlock in the browser without any mixed content warnings:
5. Remove the database search and replace tool
Whatever you do, do not forget to remove the DS&R tool from your root once you have found and fixed all your mixed content issues. Leaving it on your server could introduce itself as a potential attack vector later on.
Support for HTTPS
If you’re an existing Sucuri customer and are having issues getting things configured, please connect with our team by submitting a ticket. And if you are deploying LetsEncrypt locally, refer to our simple guide on how to install SSL to get started!
如有侵权请联系:admin#unsafe.sh
