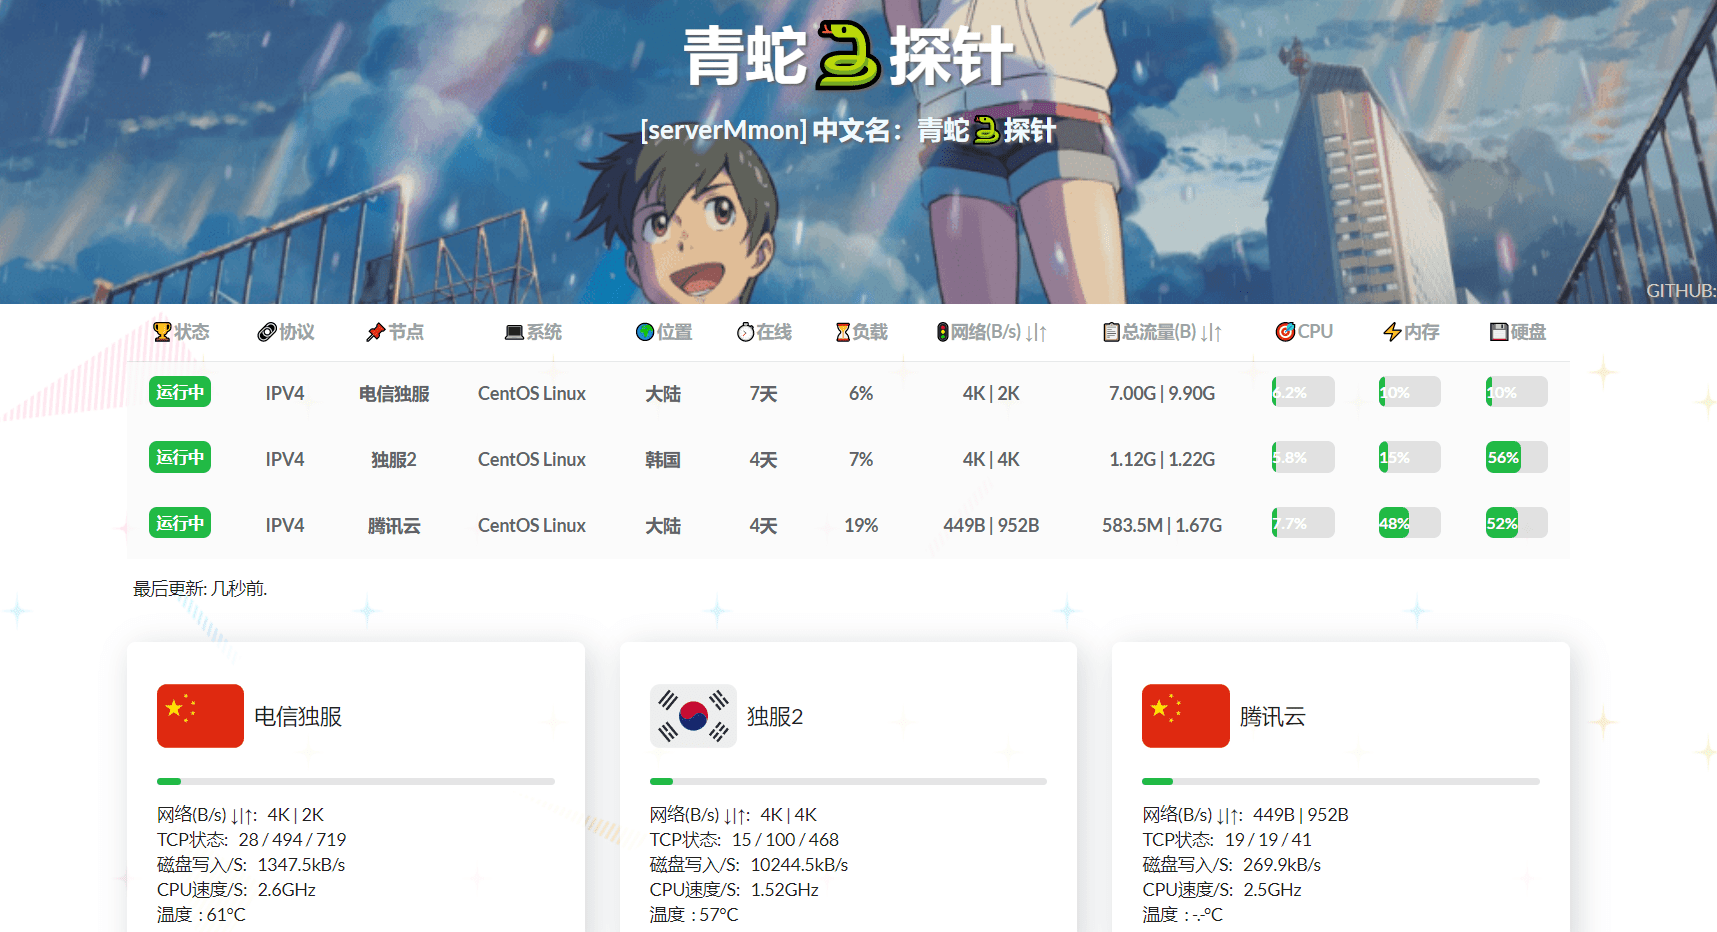
- serverMmon(青蛇探针)是nodeJs开发的一个酷炫高逼格的云探针、云监控、服务器云监控、多服务器探针~。
- 前台在线演示:http://106.126.11.114:5999/
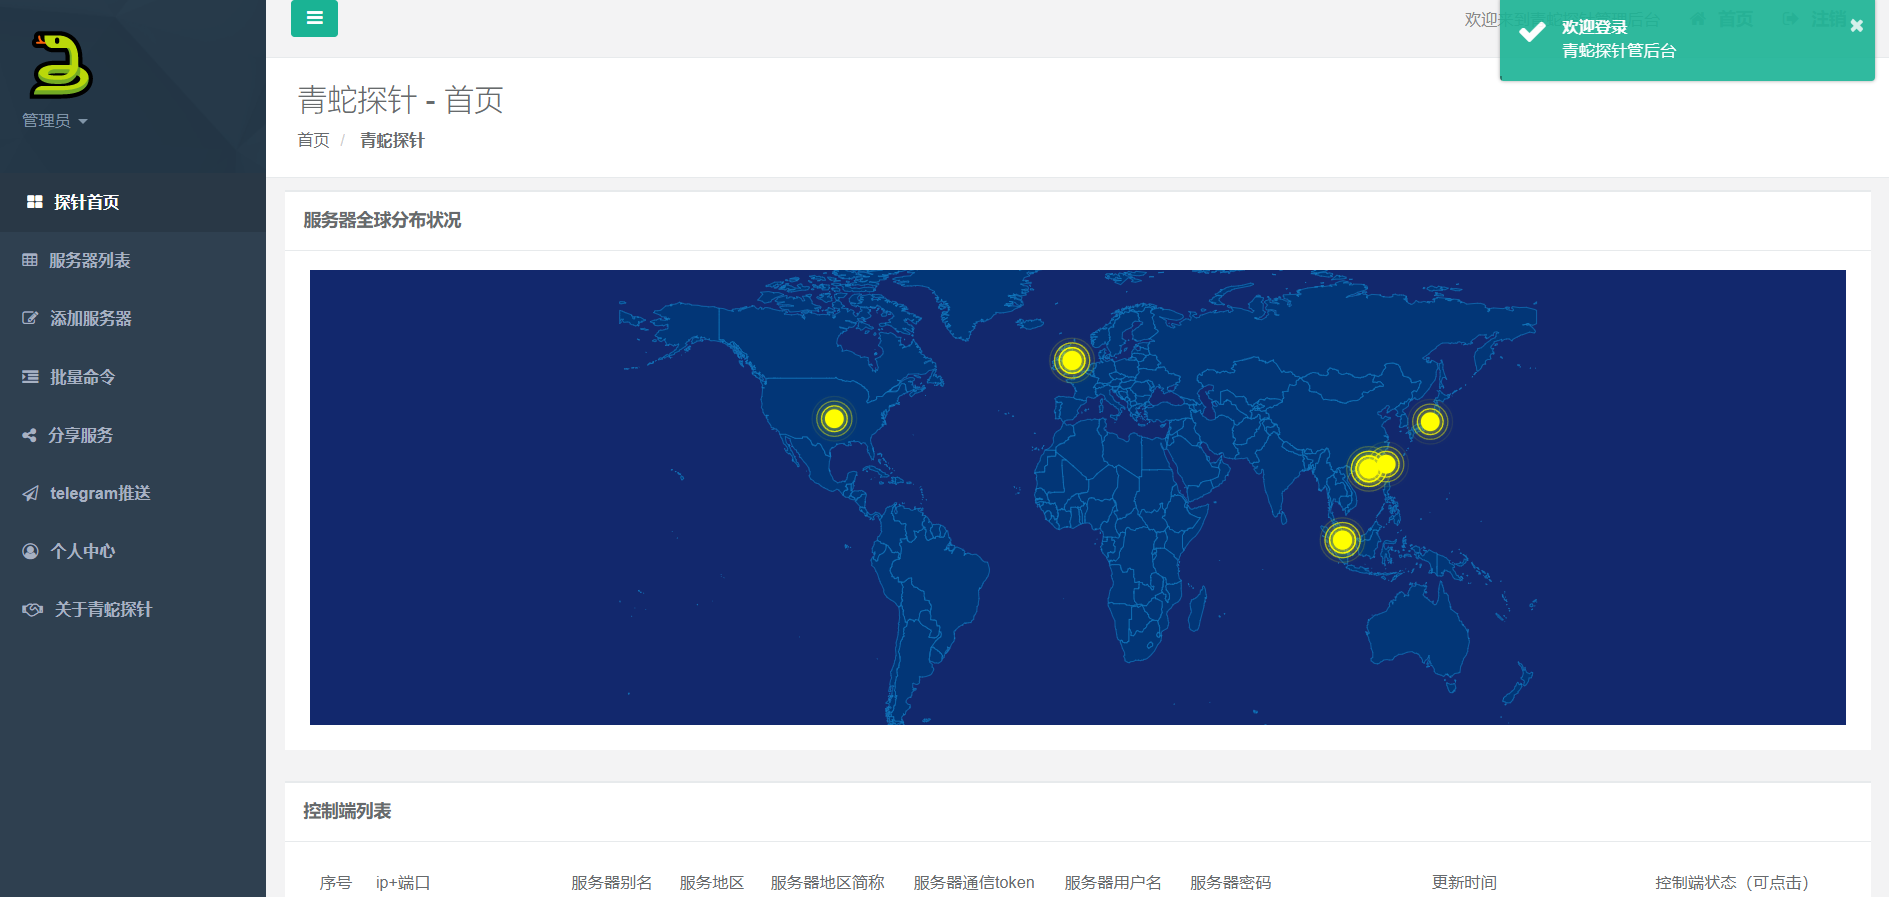
- 后台在线演示:http://106.126.11.114:5999/admin
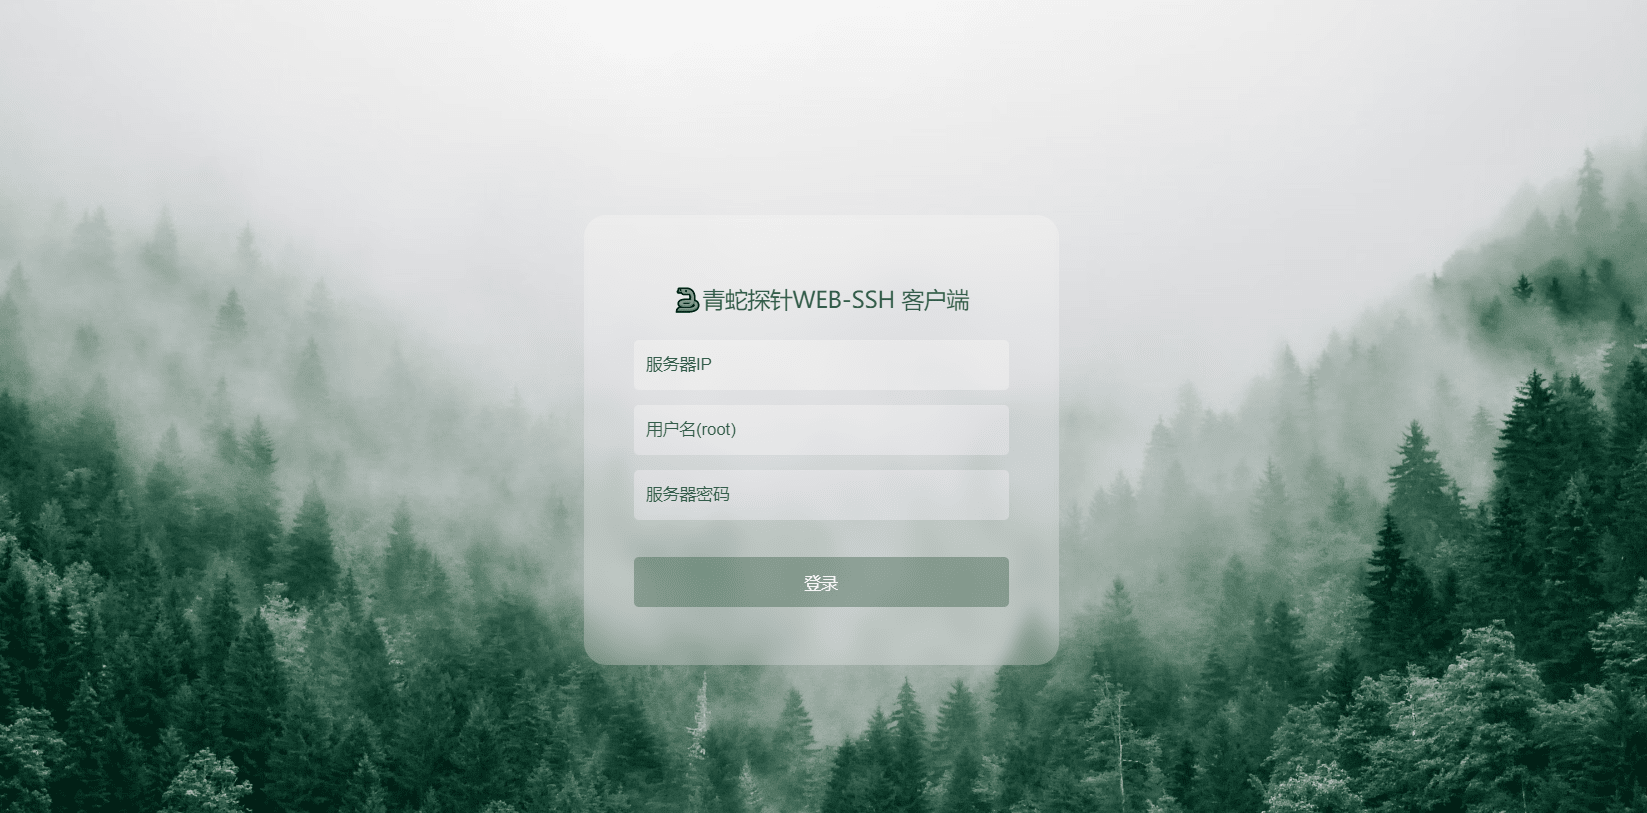
- 在线SSH演示:http://106.126.11.114:5999/ssh
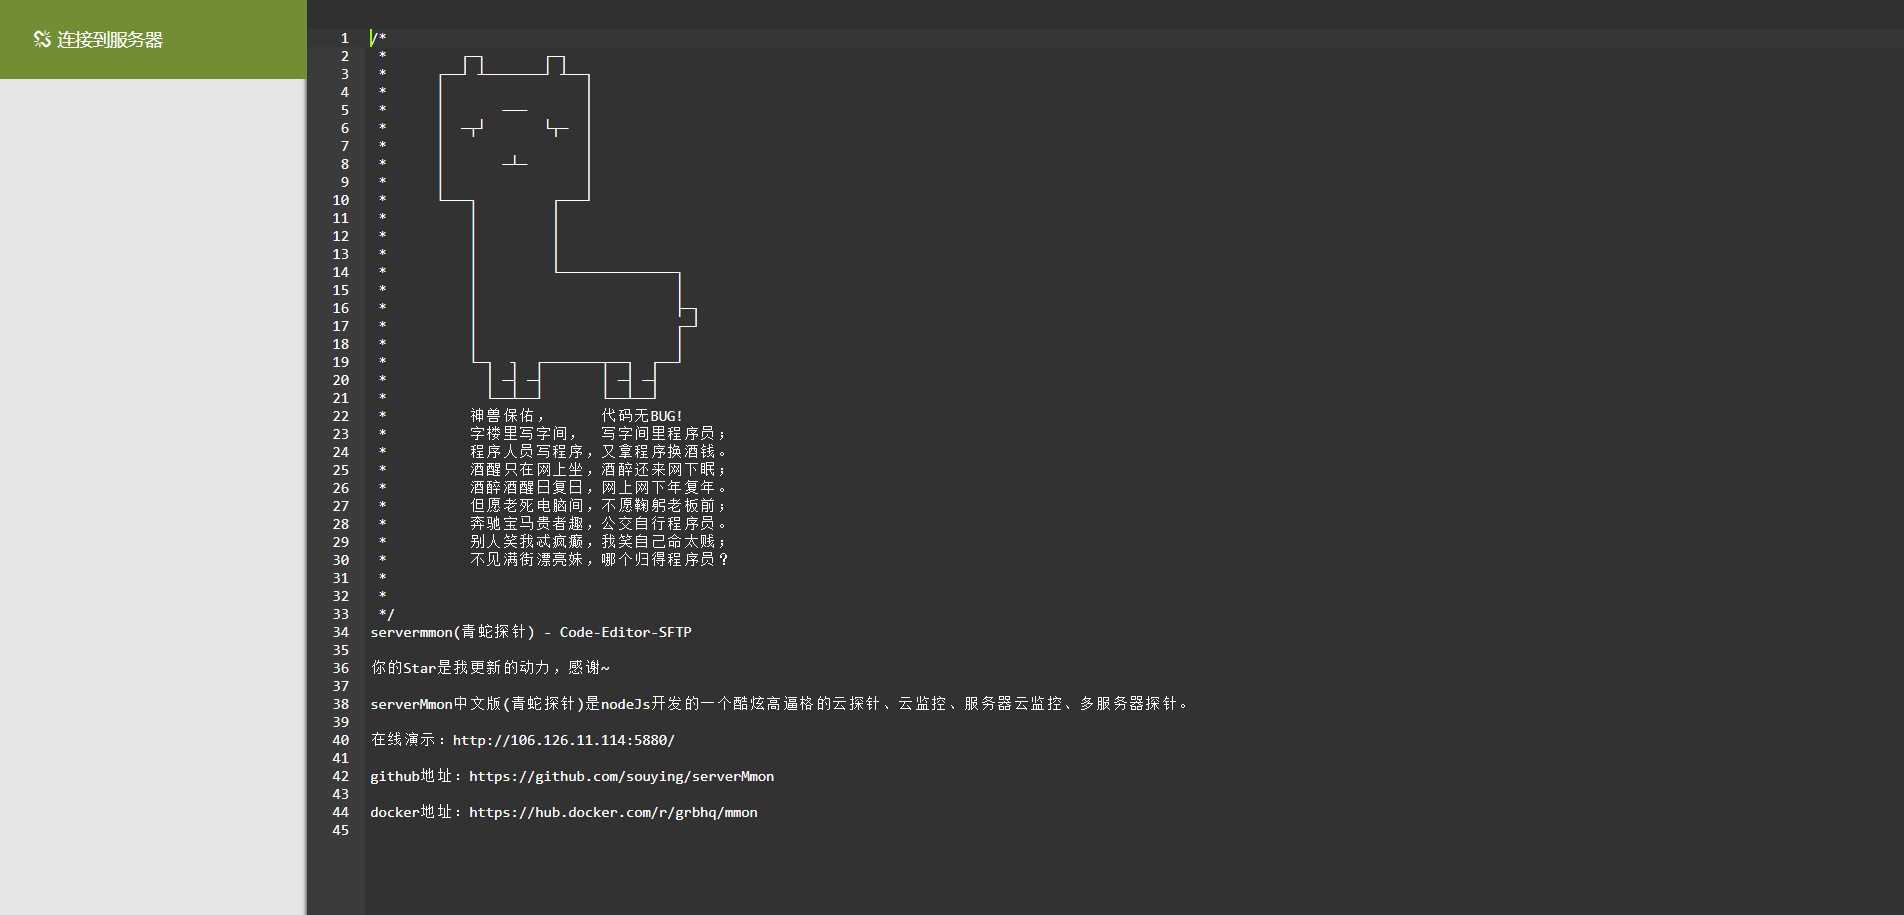
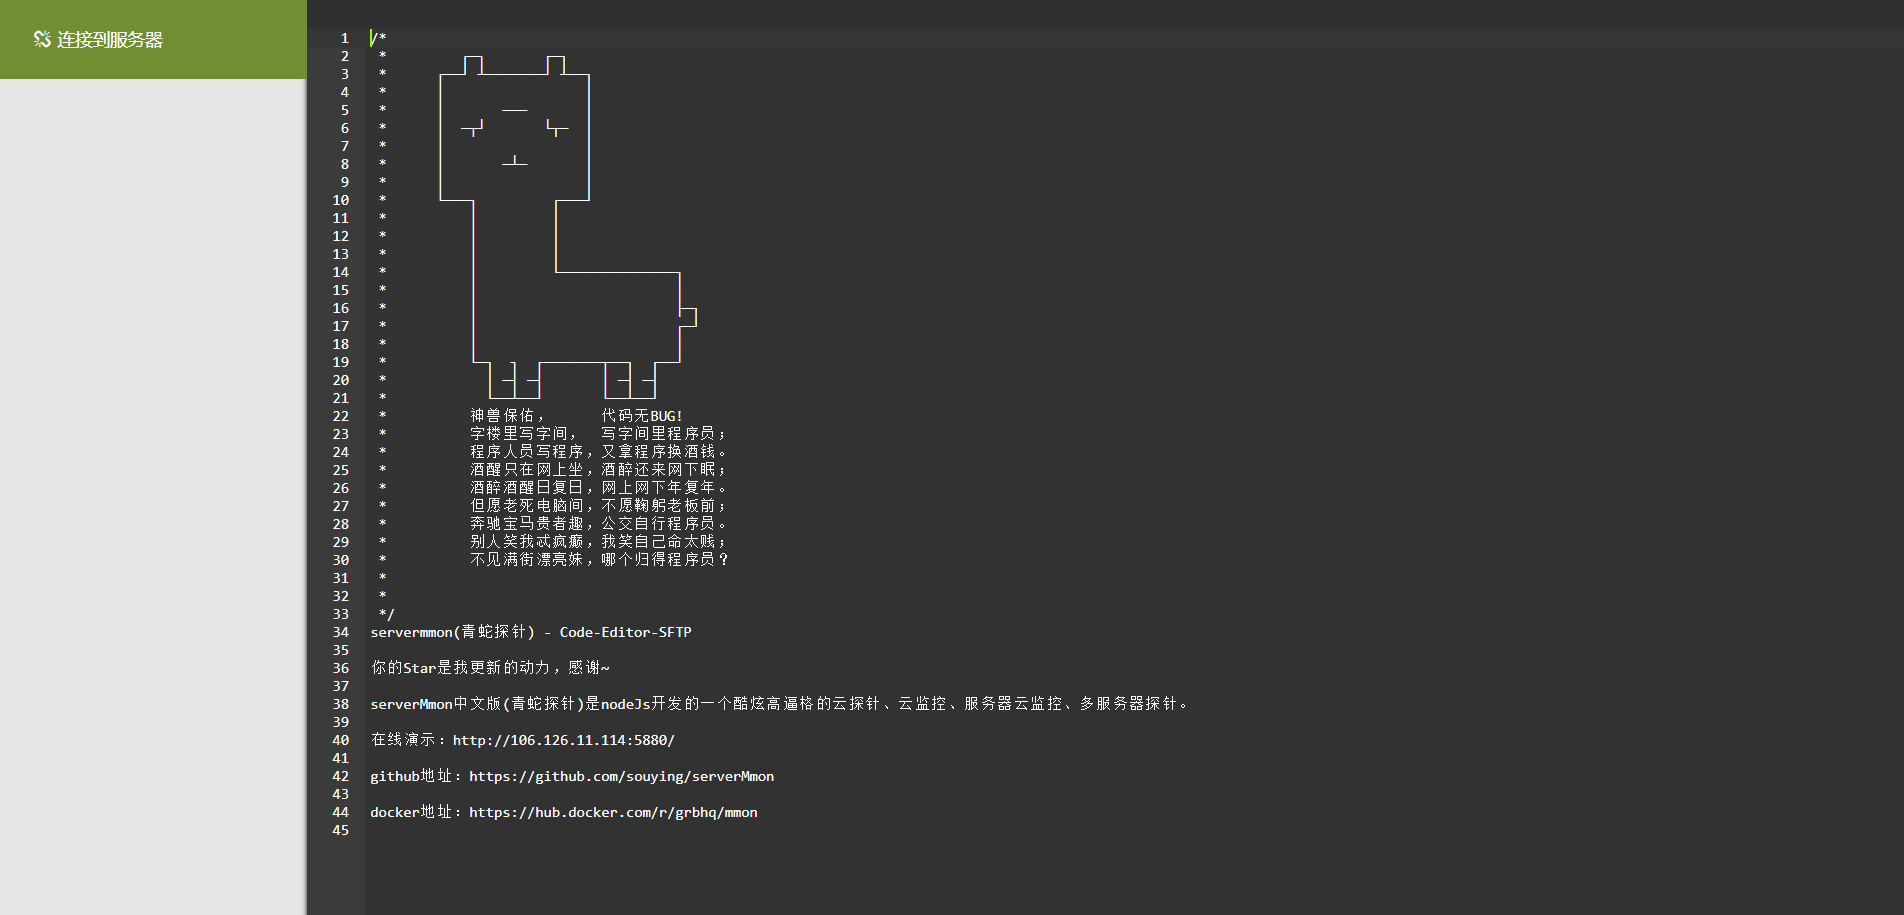
- 在线sftp编辑器:http://106.126.11.114:5999/sftp
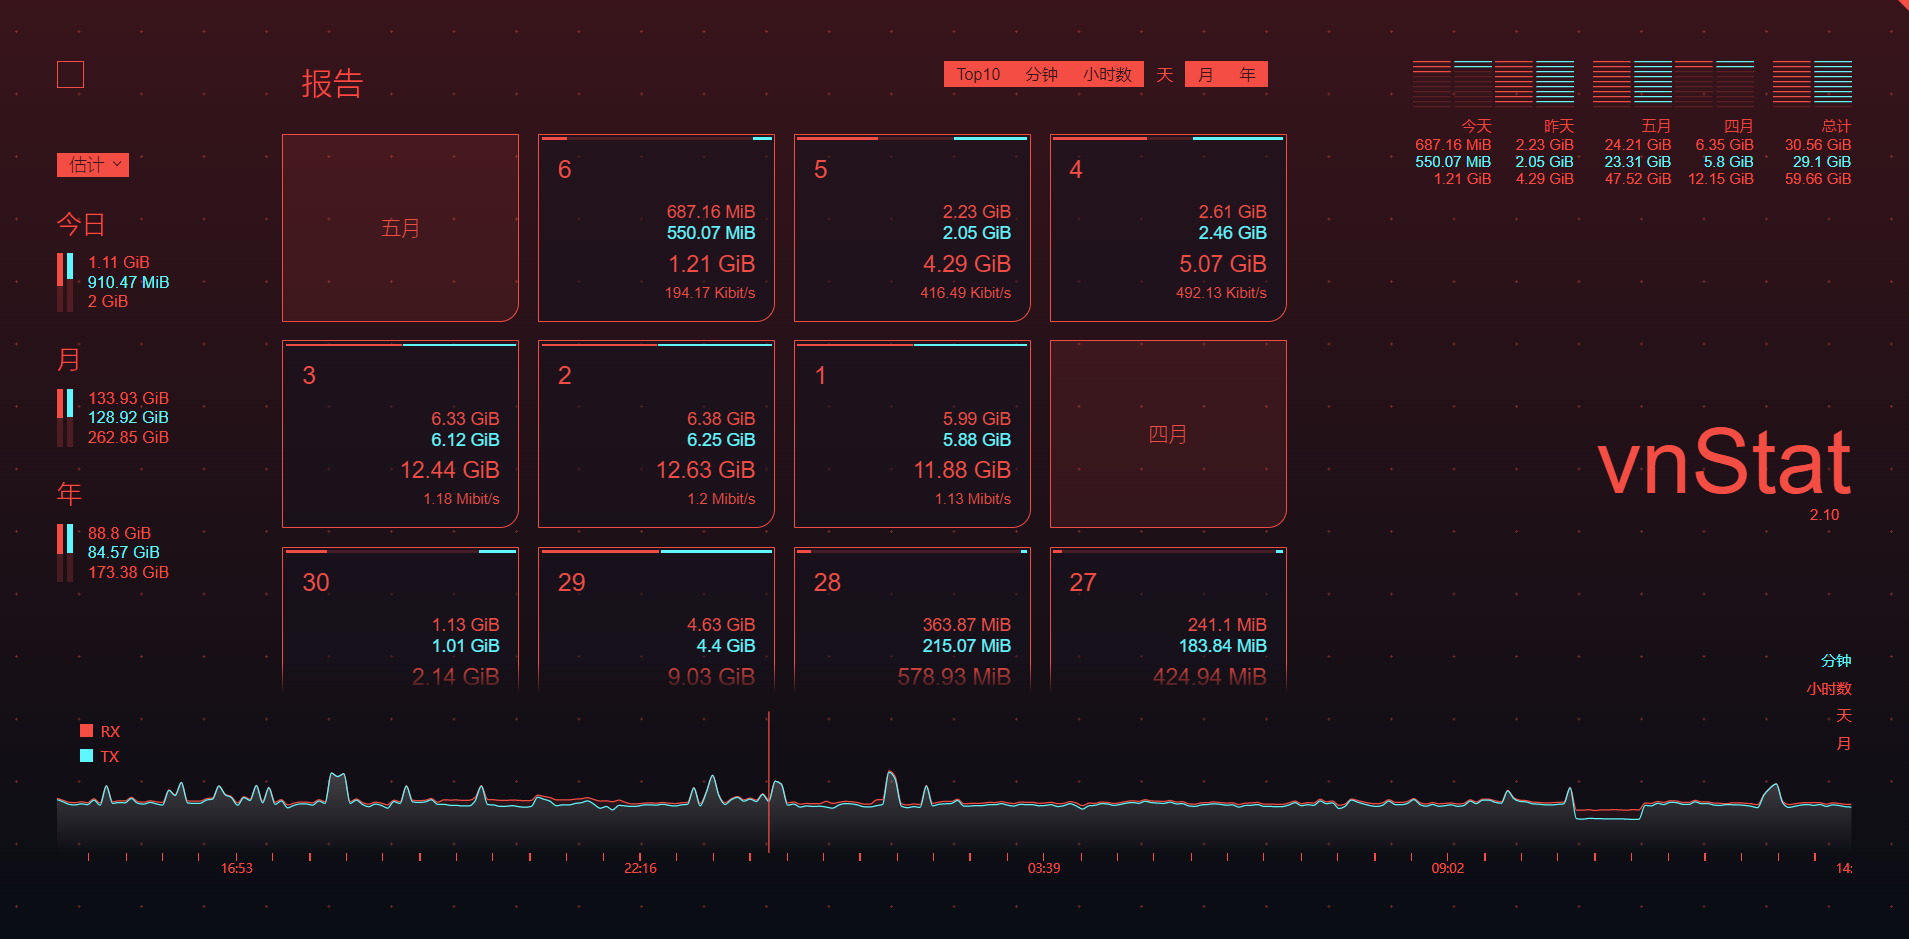
- 流量统计演示:http://106.126.11.114:5999/flow/?id=Fi3gXtMAtc97bPoo
- Telegram群组:https://t.me/servermmon
- 全球服务器分布世界地图
- 服务器(控制端)ping 连通率功能
- 后台编辑 添加 删除 服务器(控制端)
- 生成服务器(控制端)一键安装脚本
- 在线SSH
- 多服务器批量执行命令
- 多服务器定制分享地址
- 控制游客那些服务器可显示
- 更新预警通知 (已经完成 tg推送)
- ping服务器
- 服务器排序
- SSH自定义端口
- 自定义统计流量
- vnStar流量统计
- sftp编辑器
- 其他功能不一一叙述自行安装体验
- 监控端1.0.3版本以及以上有的功能和服务端面板1.7版本以及以上
- 菜单可安装vnStar
- 更新1.0.3一键脚本 》安装vnStar 》更新或者重写安装监控端mmon 选择1.0.3或者以上版本 》 登录面板后台 》 服务器列表 》流量按钮 》打开应该是黑屏 》 静等10分钟左右处理数据
- 完善推送类型
- 添加tg群机器人
- 添加系统设置设置站名等等
- home/config.js 前端配置以及设置网页标题底部等等 默认可不做修改
- server/config.js 服务端端口配置 其他配置不会的不要改 默认可不做修改
【服务端】
- Docker一键命令:
docker run -dit \
  -v $PWD/Mmon/basedata:/Mmon/basedata \
  -p 5999:5999 \
  --restart=always \
  --name mmon \
grbhq/mmon:latest
- docker-compose一键部署:
wget -O docker-compose.yaml https://raw.githubusercontent.com/souying/serverMmon/main/docker-compose.yaml && docker-compose up -d
- 一键安装脚本(国内):
bash <(curl -sL https://cdn.jsdelivr.net/gh/souying/[email protected]/scripts/mmon_install.sh)
or
bash <(curl -sL https://gitee.com/souying/serverMmon/raw/main/scripts/mmon_install.sh)
- 一键安装脚本(国外):
bash <(curl -sL https://raw.githubusercontent.com/souying/serverMmon/main/scripts/mmon_install.sh)
【监控端】:
//国内服务器一键安装脚本

bash <(curl -sL https://gitee.com/souying/serverMmon/raw/main/scripts/mmon_install.sh)

or
bash <(curl -sL https://cdn.jsdelivr.net/gh/souying/[email protected]/scripts/mmon_install.sh)

//国外服务器一键安装脚本

bash <(curl -sL https://raw.githubusercontent.com/souying/serverMmon/main/scripts/mmon_install.sh)

以上执行后按脚本提示安装
安装完毕后 直接执行mmon 或者 MMON 可弹出脚本菜单
【服务端配置】
一、创建文件夹
mkdir serverMmon && cd serverMmon
二、拉取源码
git clone https://github.com/souying/serverMmon.git
三、安装依赖
四、修改上面主要说明文件(修改配置文件)
  home/config.js  //修改服务端ip+端口 或者域名 如下  不做修改此步骤可省略...

  window.__PRE_CONFIG__ = {
     header: '青蛇🐍探针',
     subHeader: '[serverMmon] 中文名:青蛇🐍探针',
     interval: 1,
     url:'xx.xx.xx.xx',  //主控服务端ip地址或者域名   可不做修改
     footer: '<p>Powered by <a href="https://github.com/souying/serverMmon">serverMmon</a>感谢ServerStatus-Hotaru前端主题</p>'
   };

  server/config.js  //修改端口配置 默认5999 不做修改可省略... 如下

  5999 改为你自己需要的端口  不做修改此步骤可省略...
三、启动测试
如果没错误提示,OK,ctrl+c关闭;如果有错误提示,检查5999端口是否被占用
四、安装pm2 维护进程
npm install -g pm2    // 安装过可省略...

在服务端执行以下命令

pm2 start index.js --name "serverMmon"

重新启动

pm2 restart serverMmon

停止

pm2 stop serverMmon
关键说明 如每次修改完配置文件 请执行以下命令 重启服务端
以上需要node 环境 如宝塔安装 正常使用node项目安装方式即可 pm2 常用命令 请搜索
ip+端口/ 即可访问
ip+端口/admin 即可访问后台管理 ps 首次安装后需要注册管理账号
ip+端口/ssh 即可访问在线SSH
文章来源: https://blog.upx8.com/3656
如有侵权请联系:admin#unsafe.sh
如有侵权请联系:admin#unsafe.sh
